How to Install Compatible
Toner Cartridges
A short guide for a smooth and safe installation
Compatible toner cartridges are an affordable and reliable alternative to OEM toners. With the right handling, they work seamlessly and help reduce printing costs. This guide walks you through each step to ensure a smooth installation and long-lasting performance.A short guide for a smooth and safe installation Compatible toner cartridges are an affordable and reliable alternative to OEM toners. With the right handling,
Follow these easy steps to correctly install a compatible toner cartridge into your printer and review the tips and troubleshooting if you run into issues.
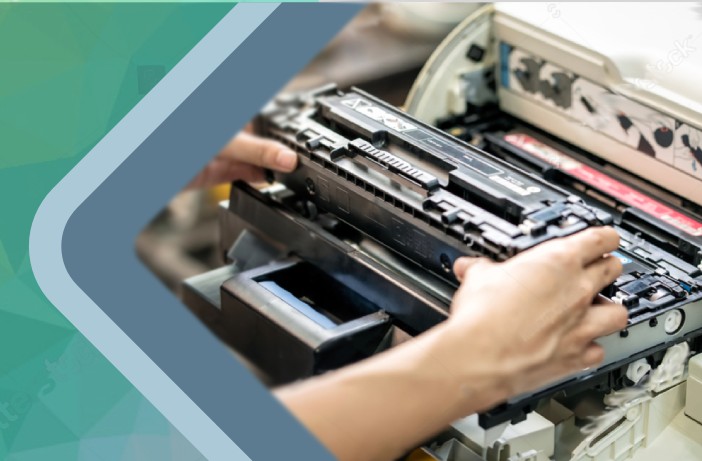
Step-by-Step Instructions
- Turn off your printer and unplug it for safety.
- Open the toner compartment according to your printer’s manual.
- Remove the old toner gently to avoid spilling residual powder.
- Unpack the new compatible toner and shake it lightly to distribute the powder evenly.
- Remove protective seals or covers from the cartridge.
- Insert the cartridge firmly into the slot until it clicks into place.
- Close the compartment and power the printer back on.
Tips for Best Results
- Always handle toner by the sides to avoid touching the drum surface.
- Store cartridges in a cool, dry place until use.
- Print a test page to confirm proper installation.
Troubleshooting
If you notice streaks or faded prints after installation, remove the cartridge and gently shake it again before reinserting. For persistent issues, clean the printer’s drum and rollers.
Need Help Choosing the Right Toner?
Looking for the right HP compatible toner or Canon compatible toner? Check our full compatible toner guide for brand-specific instructions and recommendations.
